September 10, 2019
Hello! Welcome to my first blog post in a series where I teach you how to press flowers. There are many was to press flowers and this first method I will cover is called the book pressing method.
Flower preservation is a beautiful and classic art form that gives the creator the opportunity to save botanicals from many different moments in life and turn them into meaningful pieces. This is why I am so passionate about sharing my knowledge of flower pressing: I think there are too many important blooms that get tossed simply because people do not know how to properly save them.
The first method I learned for pressing flowers is the same method I am going to teach you about today. It is the simplest form of flower pressing and my absolute favorite, and all you need is a book!
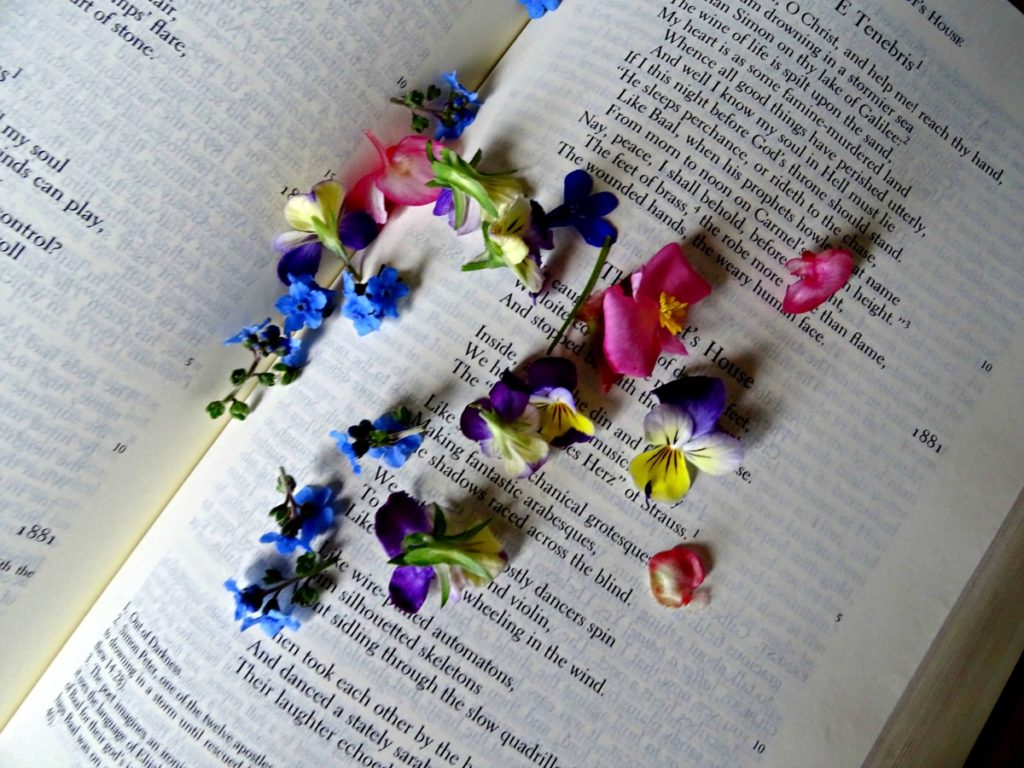
Supplies you need to get started:
-Books (preferably ones you don’t use anymore as flowers can transfer moisture
and color to the pages)
-Paper (I use printer paper)
-Fresh flowers
-Scissors
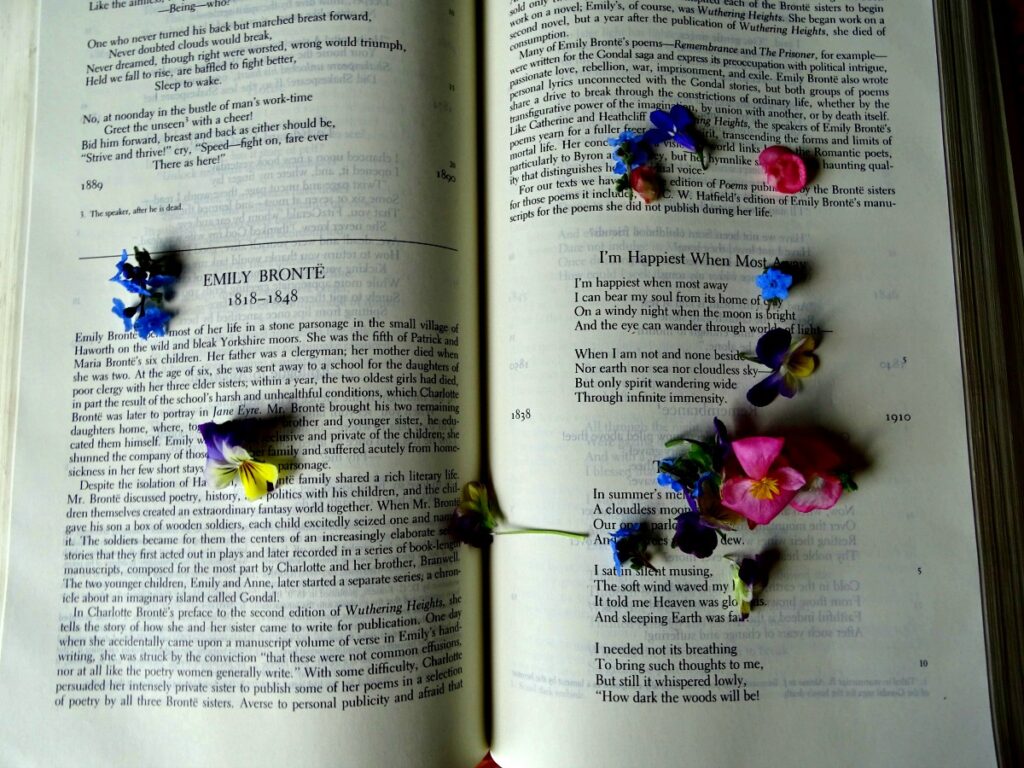
The first thing I do when I find plants that need to be pressed, especially smaller flowers like wildflowers and greenery, is find some books to press them in. My go-to books are old dictionaries, but phone books, novels, and even cardboard with paper in between are all effective. When looking for a good book to press with, try to find one that has a more paper-like feel to the pages. Books with the waxier, magazine pages do not allow for as much breathability. This is usually fine when used in conjunction with paper, but when you are just starting out it is good to be safe.
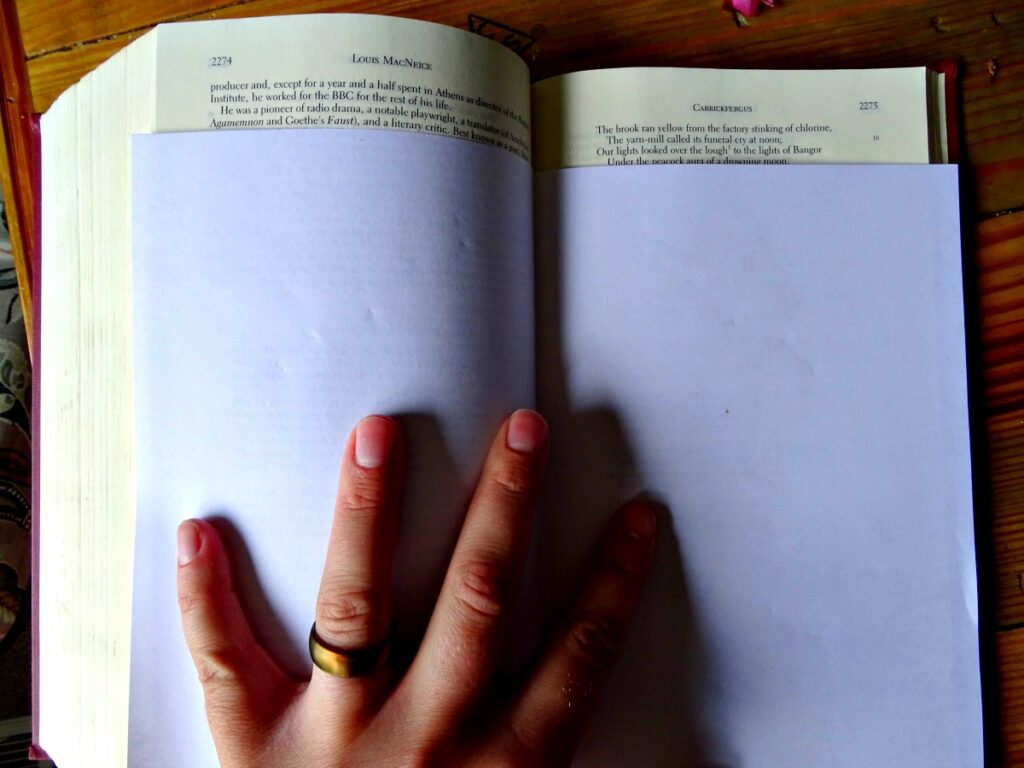
When you have your books chosen, the next step is to get the pressing paper prepared. Depending on the size of the books and flowers to be pressed you may either use one piece of paper folded in half or two pieces sandwiched around the flowers.
How to Press Flowers
Next comes the pressing! I typically start in the “back” of the book. This way, the way the flowers are arranged can be saved as you place more flowers throughout the pages in the book. Open to one of the back pages and place your pressing paper down. Cut your flowers and plants so that they will fit the size of the book. Many flowers need to have their stems and leaves removed as they tend to hold a lot of moisture.
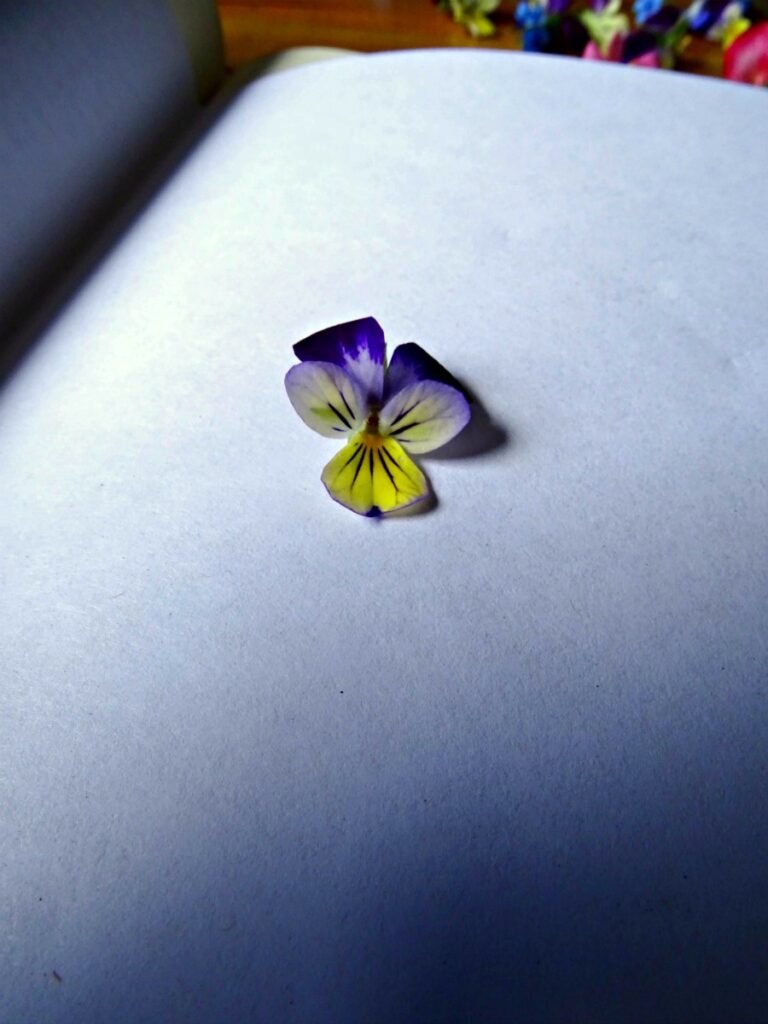
When placing the flowers on the pages of paper, arrange them in the way you would like them to be pressed. If you’ve got a beautiful viola and you fold it in half, it’s going to press in half. For smaller flowers, the easiest way to press them and keep the look intact is to place it face down. You need to take spacing into account as well. Try to keep any flowers from overlapping, as fragility increases as moisture decreases, and you do not want to pull apart translucent petals from thick stems. Once you have a good amount of flower ready to be pressed, close the book and choose a section further in.
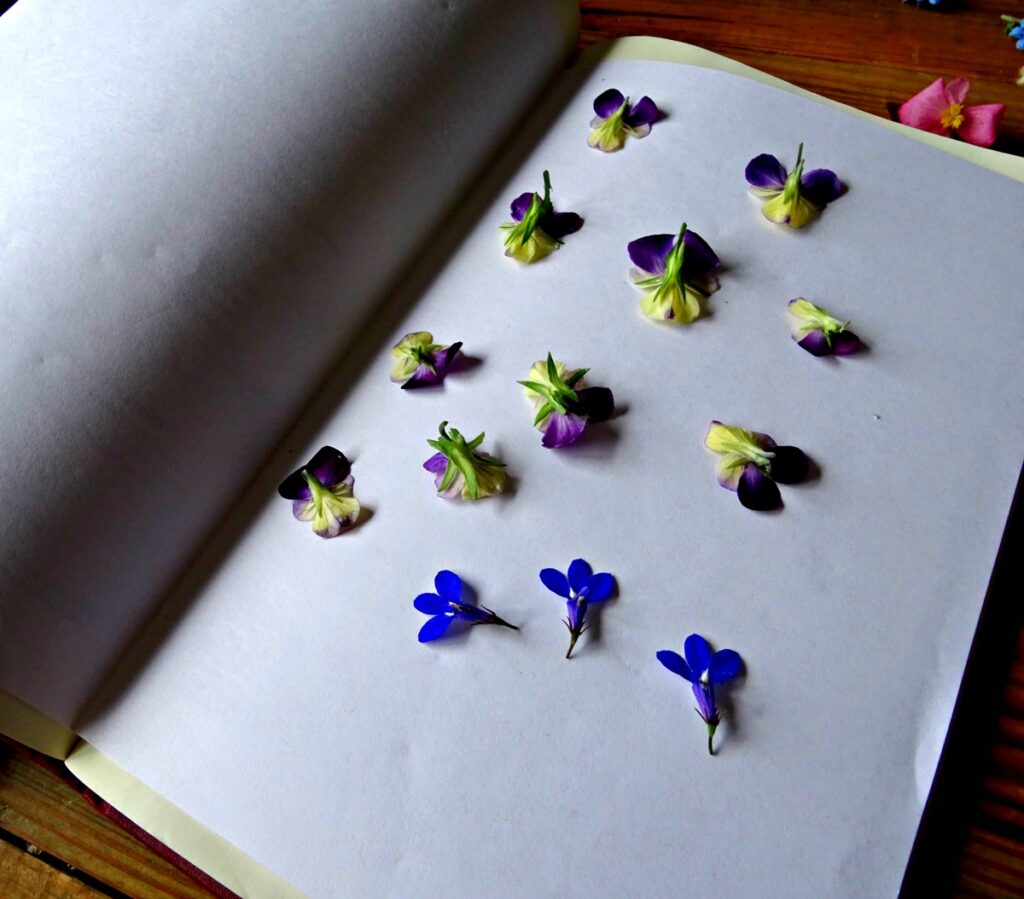
Continue adding in flowers about a finger-width of pages apart. If the flowers are too close together or there are too many in one book you increase your chances of mold. In addition, place flowers of similar structure next to each other. For example, do not attempt to press a lily next to a begonia.
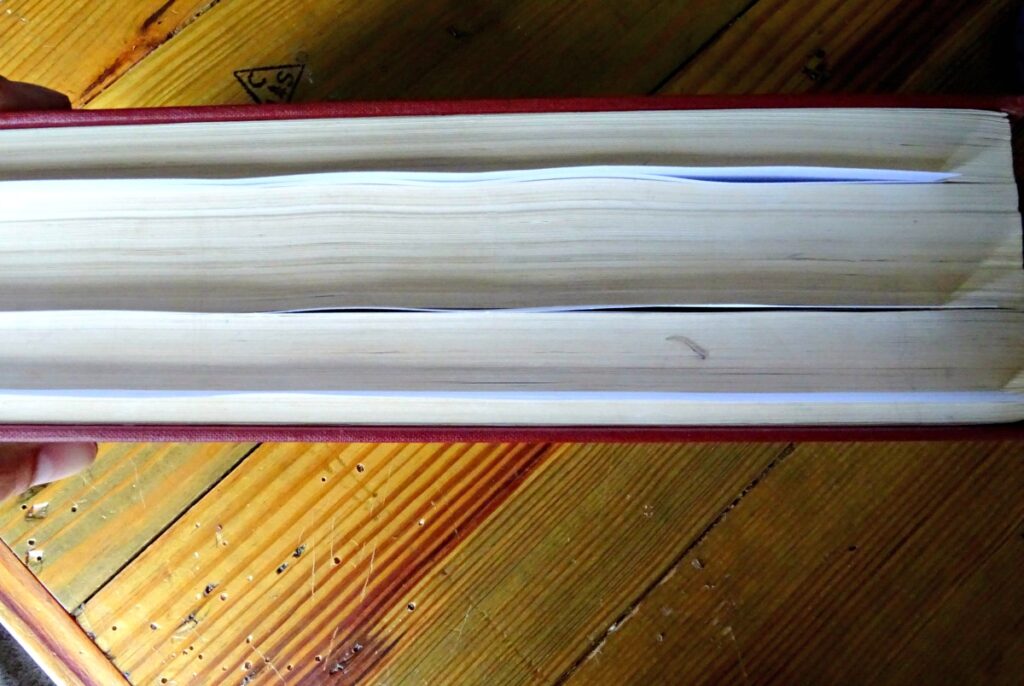
Once your book is full of flowers ready for pressing the next requirement is patience. Depending on the thickness of the flowers, it can take anywhere from a week or two to two months or more for the moisture to be removed from the flowers. If you are unsure of how the flower will press, I recommend checking back every few days and potentially switching out the pressing paper depending on the moisture content.
Notes
The book pressing method is best for smaller flowers such as thin wildflowers, daisies, violas, baby’s breath, etc. Flowers that do not pair well with book pressing include roses, lilies, and sunflowers. But don’t worry, I will cover pressing these types of flowers in future posts!
Comments