January 26, 2020
Are you expecting a bouquet of flowers this Valentine’s Day? Did you receive the most beautiful roses you have ever seen and want to keep them forever? Sometimes these blooms are so meaningful that we cannot imagine letting them go. That is why it is so important to learn how to save flowers from special occasions.
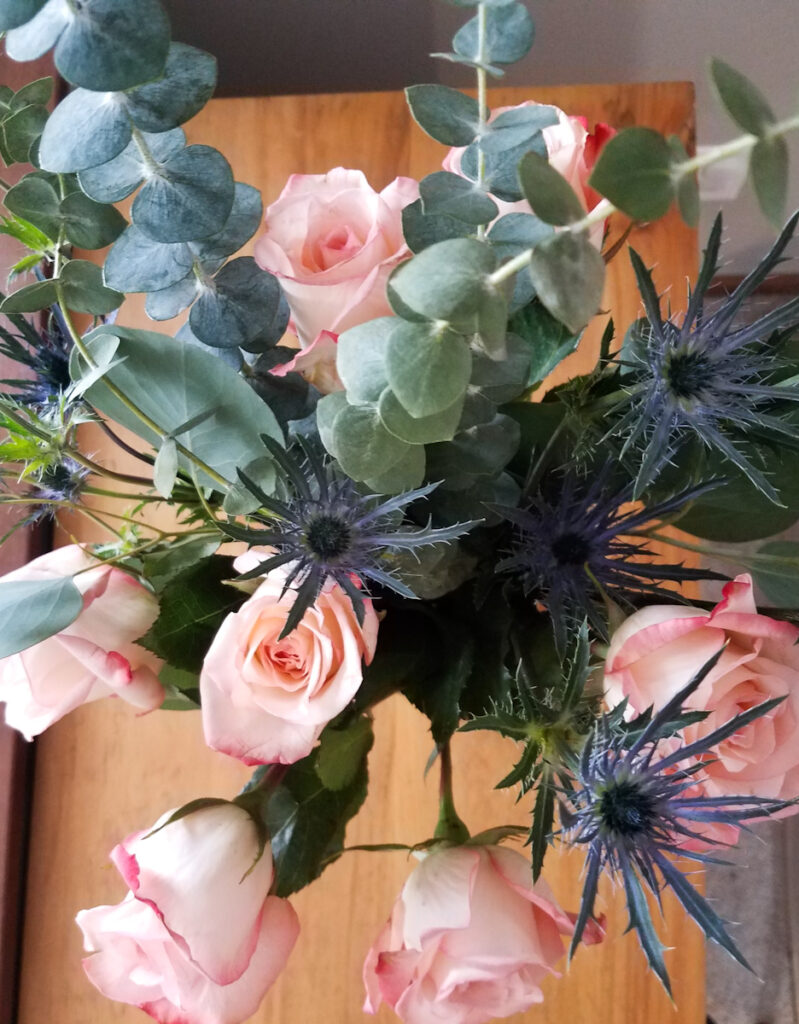
I have written posts on pressing flowers and leaves in the past, but these posts only focus on the easier to preserve flowers. People often receive roses or other large flowers on Valentine’s Day and important celebrations. While you can still press large flowers, it requires more practice. I am going to teach to you a way to save these flowers without too much risk of mold or rot.
How to Press Large Flowers
Large flowers require more care when pressing as they tend to hold a lot more moisture. These include plants like roses, lilies, and gerber daisies. In this post I will focus on roses, but the same principles can be applied to other flowers.
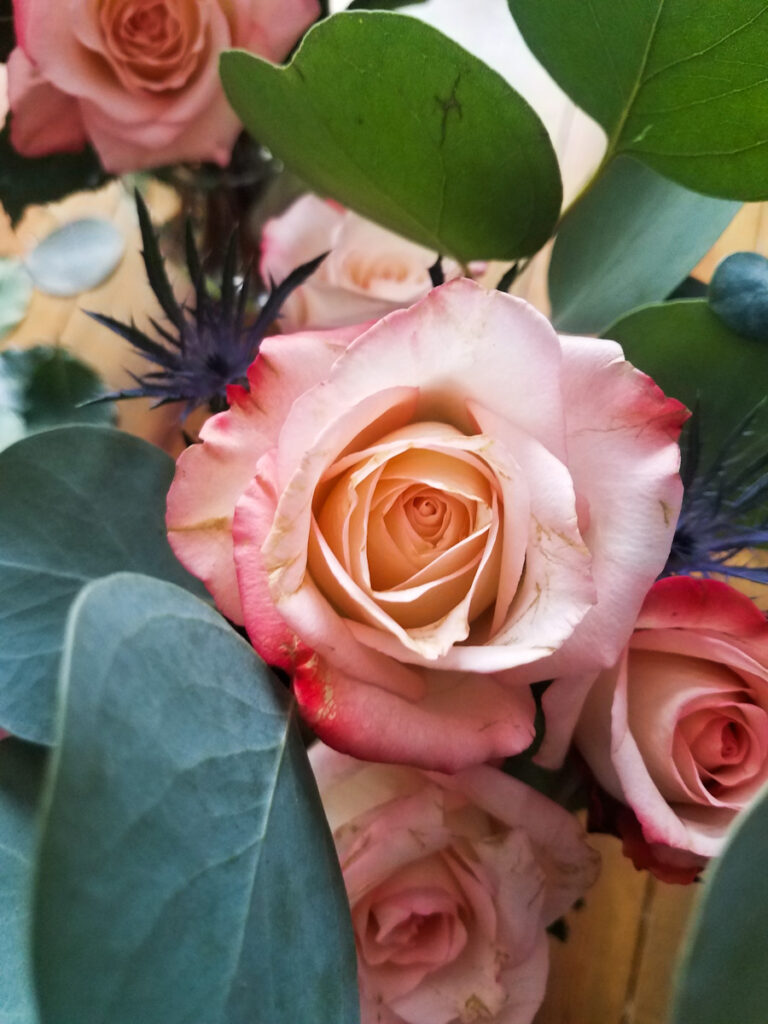
When you are just learning how to press a rose, I recommend starting small. Many people have tried to press the entire thing only to be left with a moldy or rotten mess. Unless you have a microwave press on hand, you should not attempt this!
The best way to save your roses is to take them apart, petal by petal. Roses do not have very many petals, so this is not too tedious. These petals also are fairly easy to remove, so you should not have problems with damaging them. The following is a step-by-step of how to press roses:
- Dry off the flower if there is any moisture on the petals. This helps minimize the amount of pressing time and protects the flowers from damage while drying.
- Starting from the outside, remove the rose petals one at a time. Do not pull from the top, or you risk ripping the petal. Remove from the base with a gentle tug.
- Place the petals in a single layer on copy paper in a large book.
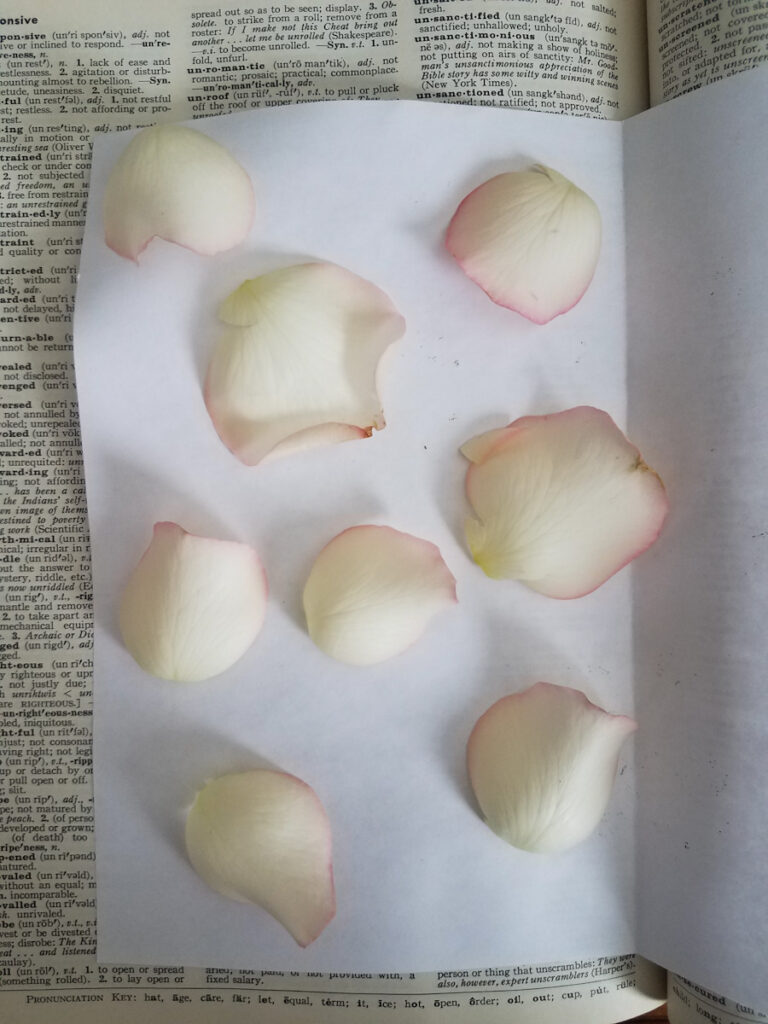
- Leave approximately 1/4 inch of book pages between each set of petals for pressing.
- Repeat the process of removing petals and arranging them for pressing until you get to the inner petals of the rose.
- Spread out the inner petals by slowly pushing them outwards from the middle of the rose. This helps to loosen up the small petals that have not unfurled yet.
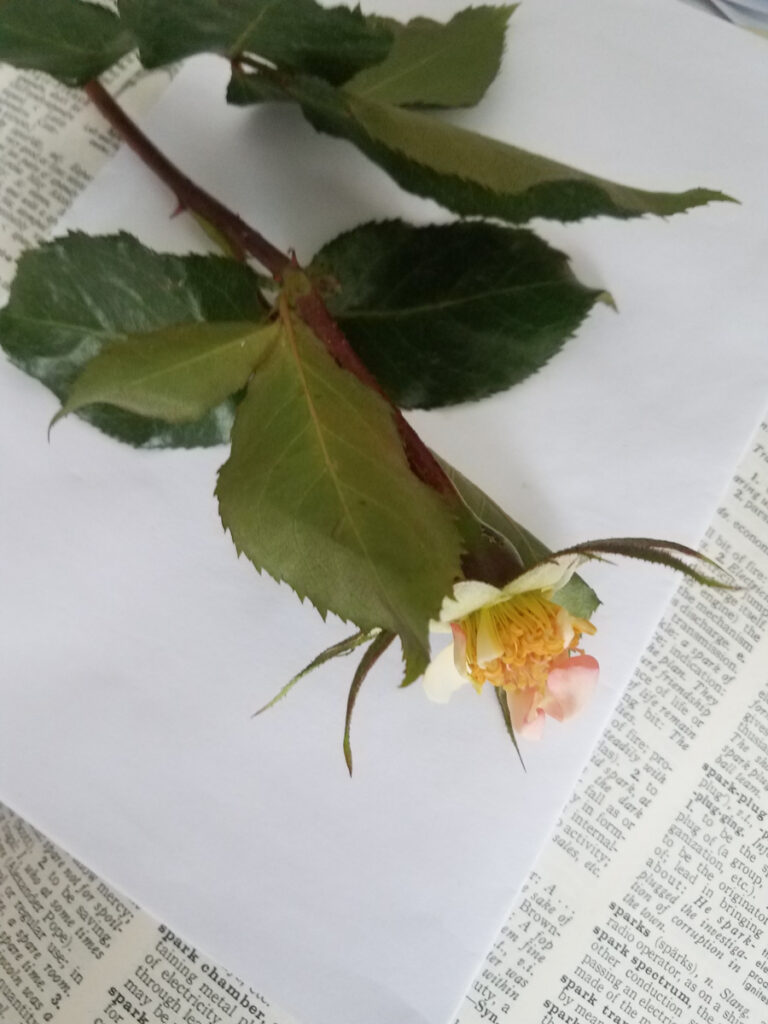
- Repeat the petal removing and pressing process until all of the petals are taken off of the rose. You will be left with a rose that looks like this:
How to Press the Leaves
Although the head is the most obvious part of the flower you will want to save, greenery can soften any creations you plan to make. The leaves and branches that come with the flowers make a natural addition to works involving flowers.
- Start by drying the leaves off as well. These parts of the flower tend to get wet in vases full of water.
- Remove the leaves in small sets and set them in the pressing paper as you did the rose petals. You can either pull them off by hand or use a scissors.
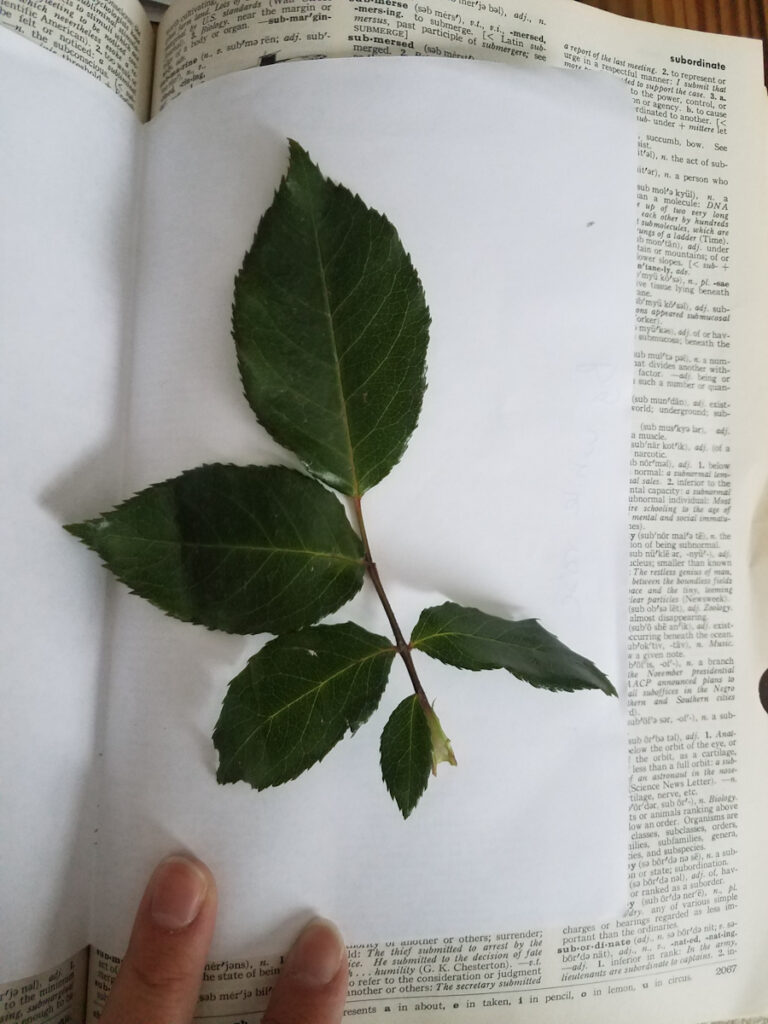
- Leaves may hold more moisture than petals, so plan to leave about 1/2 inch worth of book pages between pressing spots.
- Once the rose has been stripped bare, you have finished the job! You can toss the stem if you would like, or attempt to press it in a separate book.
When Will the Pressings be Ready?
Patience is essential for flower pressing. Trust me, it will be worth it when your petals and leaves come out perfectly.
- Petals can take anywhere from two weeks to six weeks to completely press and dry. Factors like humidity and how moist the flower was will all affect this drying time.
- Remove the petals and leaves from the book when they are finished pressing and use them however you would like!
I hope this advice helped you to learn how to successfully save your flowers. Pressing petals is a great place to start your journey in flower preservation.
If you would like to have your flowers preserved by me, please do not hesitate to reach out! You can check out my latest custom creations on my Instagram.
Hi! I love these kinds of DIY posts. The tips you share are awesome! Someday you should do one on how to press the whole rose or another type of big flower. Thanks for sharing!!
Thank you, Monica! I love that idea. I will start working on one for how to press those big flowers. Have a great day!
Comments